Peanut Butter Bars
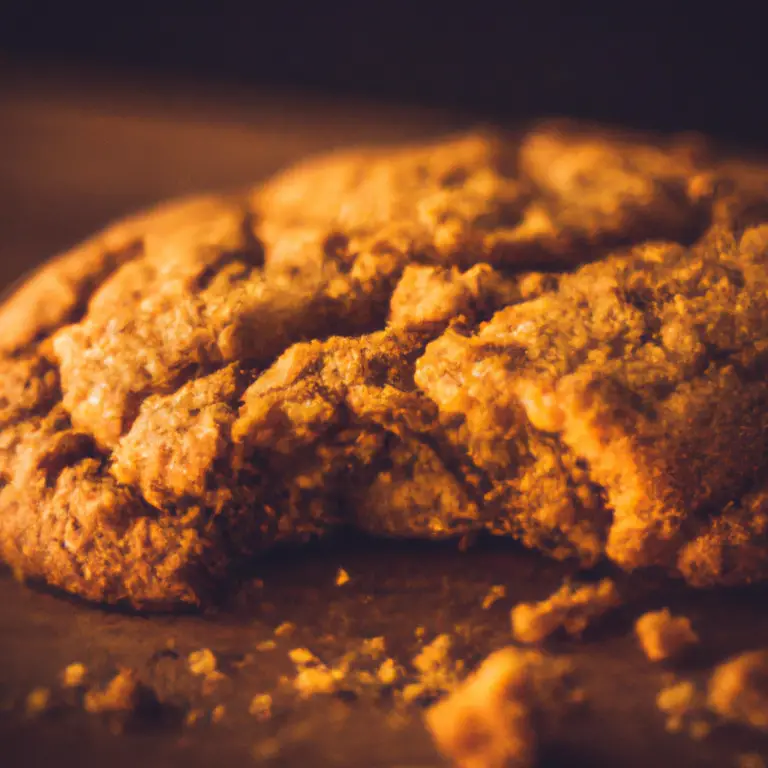
Looking for a quick and easy sweet treat? Look no further than these delicious peanut butter bars!
Packed with the rich and creamy flavor of peanut butter, these bars are perfect for any occasion.
Whether you’re an experienced baker or new to the kitchen, you’ll love how simple and satisfying they are to make.
So put on your apron and get ready to satisfy your sweet tooth with these irresistible peanut butter bars.
Origins
To understand the origins of peanut butter bars, it’s necessary to trace their history back to the early 1900s when peanut butter first gained popularity as a nutritious and versatile ingredient. Peanut butter, made from roasted peanuts ground into a smooth paste, became widely available and affordable during this time. People quickly realized its potential for creating delicious and satisfying treats.
The combination of peanut butter with other ingredients like oats, chocolate, and honey led to the creation of peanut butter bars. These bars weren’t only tasty but also convenient, as they could be easily packed and enjoyed on the go.
As the years passed, peanut butter bars evolved and became a beloved dessert, enjoyed by people of all ages. Today, they remain a classic treat adored by peanut butter lovers around the world.
Ingredients for Peanut Butter Bars
For the peanut butter layer:
- 1 cup (250g) creamy peanut butter
- ¾ cup (170g) unsalted butter, melted
- 2 cups (240g) powdered sugar, sifted to remove lumps
- 2 cups (200g) graham cracker crumbs (about 14 graham crackers)
For the chocolate topping:
- 1 ½ cups (260g) semisweet chocolate chips
- ¼ cup (60g) peanut butter
Instructions:
- Prepare the Pan: Line a 9×13 inch baking pan with parchment paper, leaving some overhang on the sides for easy removal.
- Make the Peanut Butter Layer: In a medium mixing bowl, combine the melted butter and 1 cup of creamy peanut butter. Mix until well combined. Add in the powdered sugar and graham cracker crumbs. Stir together until the mixture is smooth and even.
- Press the Mixture: Transfer the peanut butter mixture to the prepared pan and press it down into an even layer. You can use the back of a spoon or your hands to do this.
- Make the Chocolate Topping: Combine the chocolate chips and ¼ cup of peanut butter in a microwave-safe bowl. Heat in 30-second increments, stirring after each increment, until the mixture is fully melted and smooth. You can also melt the mixture using a double boiler on the stove.
- Spread the Chocolate: Pour the melted chocolate over the peanut butter layer and spread it out into an even layer.
- Chill: Place the pan in the refrigerator and chill for at least 2 hours or until the chocolate is firm.
- Cut into Bars: Once chilled and set, remove the peanut butter bars from the pan using the parchment paper overhang. Place on a cutting board and cut into squares or bars.
- Serve: Serve immediately or store in an airtight container in the refrigerator.
Tips for Cooking
As you continue making these delicious peanut butter bars, let’s explore some helpful tips for cooking them. Here are some key pointers to ensure your bars turn out perfectly every time:
| # | Tip | Description |
|---|---|---|
| 1 | Use room temperature ingredients | Allow your butter and eggs to come to room temperature before starting. This will ensure proper incorporation and a smooth, even texture. |
| 2 | Line your baking pan with parchment paper | This will make it easier to remove the bars from the pan and prevent sticking. |
| 3 | Do not overmix the batter | Overmixing can result in tough bars. Mix until just combined to achieve a tender texture. |
| 4 | Let the bars cool completely before cutting | Allowing the bars to cool completely will make them easier to cut and prevent crumbling. |
| 5 | Store in an airtight container at room temperature | Peanut butter bars can be stored at room temperature for up to 5 days. Keep them in an airtight container to maintain freshness and flavor. |
Final Thoughts
As you complete the process of making these delicious peanut butter bars, it’s important to consider some closing thoughts.
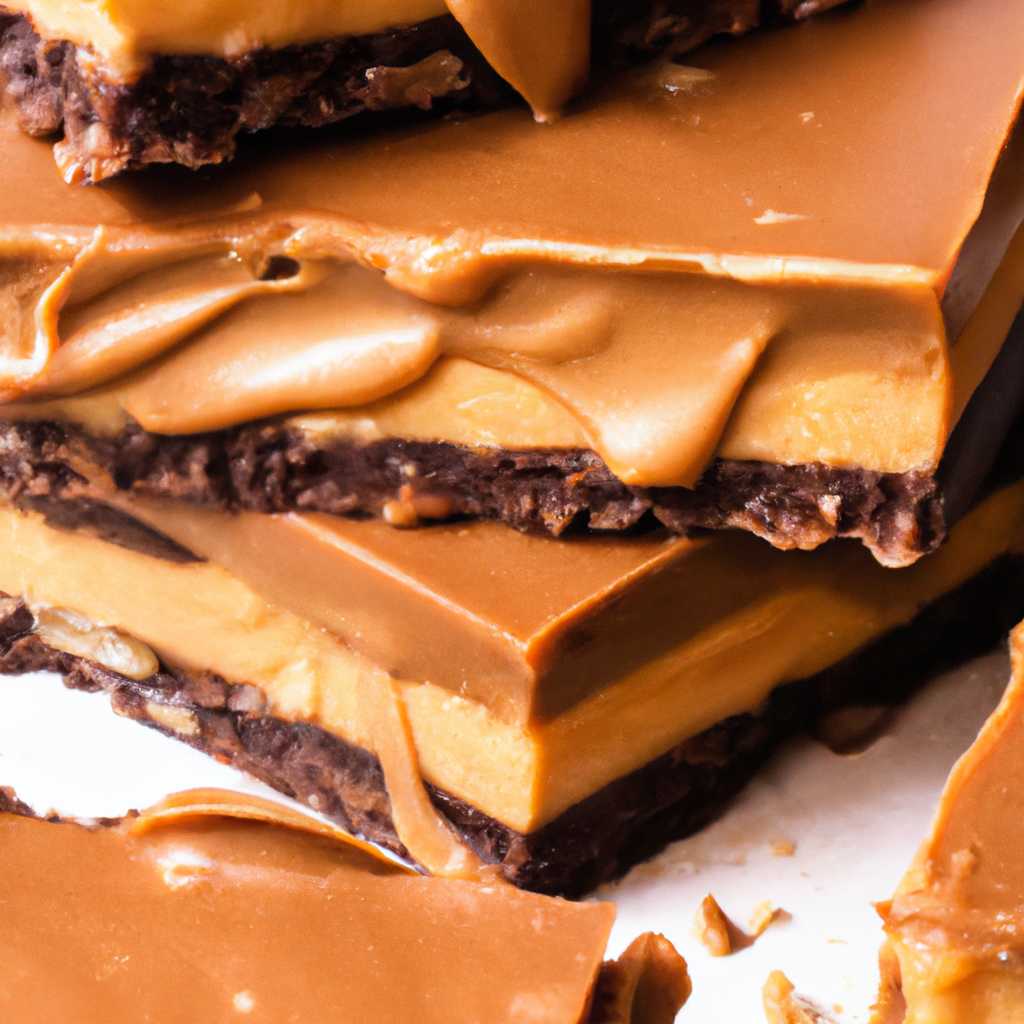
First and foremost, take a moment to appreciate your creation. The golden crust, the creamy peanut butter filling, and the smooth chocolate ganache on top – it’s truly a sight to behold.
Now, as you take your first bite, relish the rich and indulgent flavors that harmonize perfectly. Notice the perfect balance between the sweetness of the peanut butter and the slight bitterness of the chocolate.
And lastly, share these bars with your loved ones. Whether it’s a family gathering or a casual get-together with friends, these peanut butter bars are guaranteed to be a hit.
Enjoy every bite and revel in the pleasure of creating something truly delightful.
Frequently Asked Questions
How Long Can I Store Peanut Butter Bars?
Peanut butter bars can be stored for up to two weeks in an airtight container at room temperature. It is recommended to check for any signs of spoilage before consuming.
Can I Substitute Any Ingredients in the Recipe?
Yes, it is possible to substitute ingredients in the recipe for Peanut Butter Bars. You have the option to use almond butter instead of peanut butter or experiment with different types of sweeteners like honey or maple syrup.
Are Peanut Butter Bars Suitable for Individuals With Nut Allergies?
If you have a nut allergy, it’s important to be cautious with peanut butter bars. They do contain peanut butter, which is technically a legume, but cross-contamination is possible. Always read labels and check with the manufacturer to ensure safety.
Can I Freeze Peanut Butter Bars?
Yes, it is possible to freeze peanut butter bars. Freezing is an effective method to extend their lifespan and savor them at a later time. Simply ensure that you tightly wrap them in plastic wrap or store them in an airtight container.
How Can I Make the Bars Gluten-Free?
To make the bars gluten-free, simply replace the regular flour with gluten-free flour. You can easily find gluten-free flour at your local grocery store. Just follow the same recipe and enjoy your delicious gluten-free peanut butter bars!