The Best Lemon Bars
Looking for the perfect lemon bars recipe? Look no further! Here is the ultimate guide to making the best lemon bars.
We’ll discuss the origins of this delightful treat, list the essential ingredients, provide step-by-step instructions, and even share some tips for cooking.
Get ready to indulge in a tangy, sweet, and absolutely delicious dessert that will leave your taste buds begging for more. Let’s dive right in!
Origins
To understand the origins of the best lemon bars, it’s important to trace back the recipe to its earliest known version. The history of lemon bars can be traced back to the early 20th century when they first gained popularity in America. The exact origin is unclear, but it’s believed that the recipe evolved from British lemon curd tarts. Over time, American bakers added their own twists, creating a delightful combination of tangy lemon filling and buttery crust.
The recipe continued to evolve and spread, becoming a beloved classic in households across the country. Today, there are numerous variations of lemon bars, each with its own unique touch. But no matter the variation, the origins of the best lemon bars can be found in the ingenuity and creativity of bakers who sought to create the perfect balance of sweet and tart flavors.
Ingredients
Get all the necessary ingredients for making the best lemon bars. Here’s what you’ll need:
-
For the crust:
-
1 and 1/2 cups of all-purpose flour
-
1/2 cup of powdered sugar
-
3/4 cup of unsalted butter, softened
-
For the filling:
-
4 large eggs
-
1 and 1/2 cups of granulated sugar
-
1/4 cup of all-purpose flour
-
Zest of 2 lemons
-
1/2 cup of freshly squeezed lemon juice
-
For the topping:
-
Powdered sugar for dusting
Instructions
Now that you have all the necessary ingredients ready, let’s move on to preparing the best lemon bars. Here’s a step-by-step guide:
-
Preheat your oven to 350°F (175°C).
-
In a mixing bowl, combine 1 cup of all-purpose flour, 1/2 cup of powdered sugar, and a pinch of salt.
-
Add 1/2 cup of unsalted butter (cubed) to the dry mixture. Use your fingertips to rub the butter into the dry ingredients until the mixture resembles coarse crumbs.
-
Press the mixture into the bottom of a greased 9×9-inch baking pan, creating an even layer.
-
Bake the crust for 15-20 minutes or until golden brown.
-
While the crust is baking, whisk together 4 large eggs, 2 cups of granulated sugar, 1/3 cup of fresh lemon juice, and 1/4 cup of all-purpose flour until well combined.
-
Pour the lemon filling over the baked crust and return to the oven for another 20-25 minutes or until set.
-
Allow the lemon bars to cool completely before cutting them into squares.
-
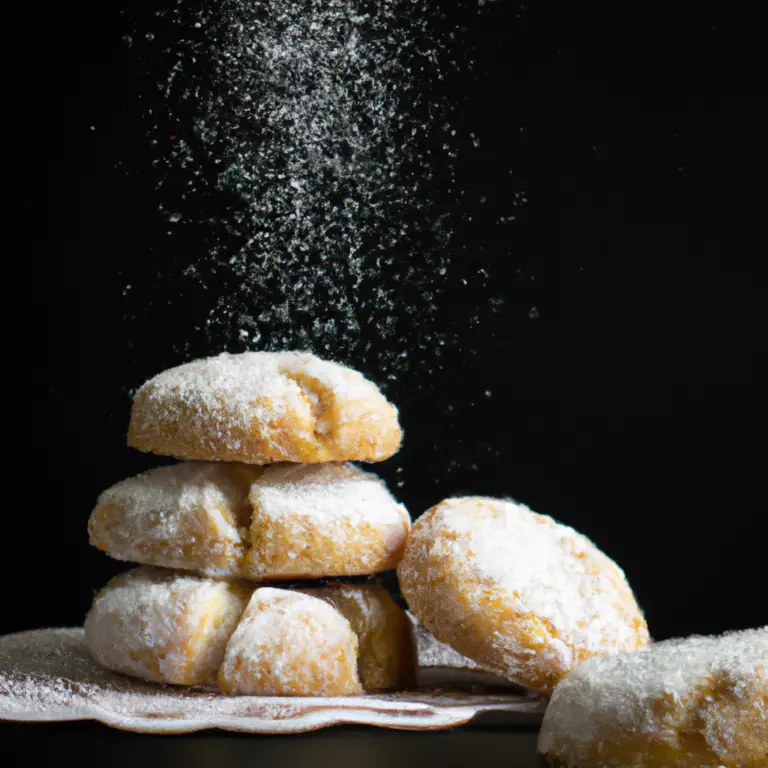
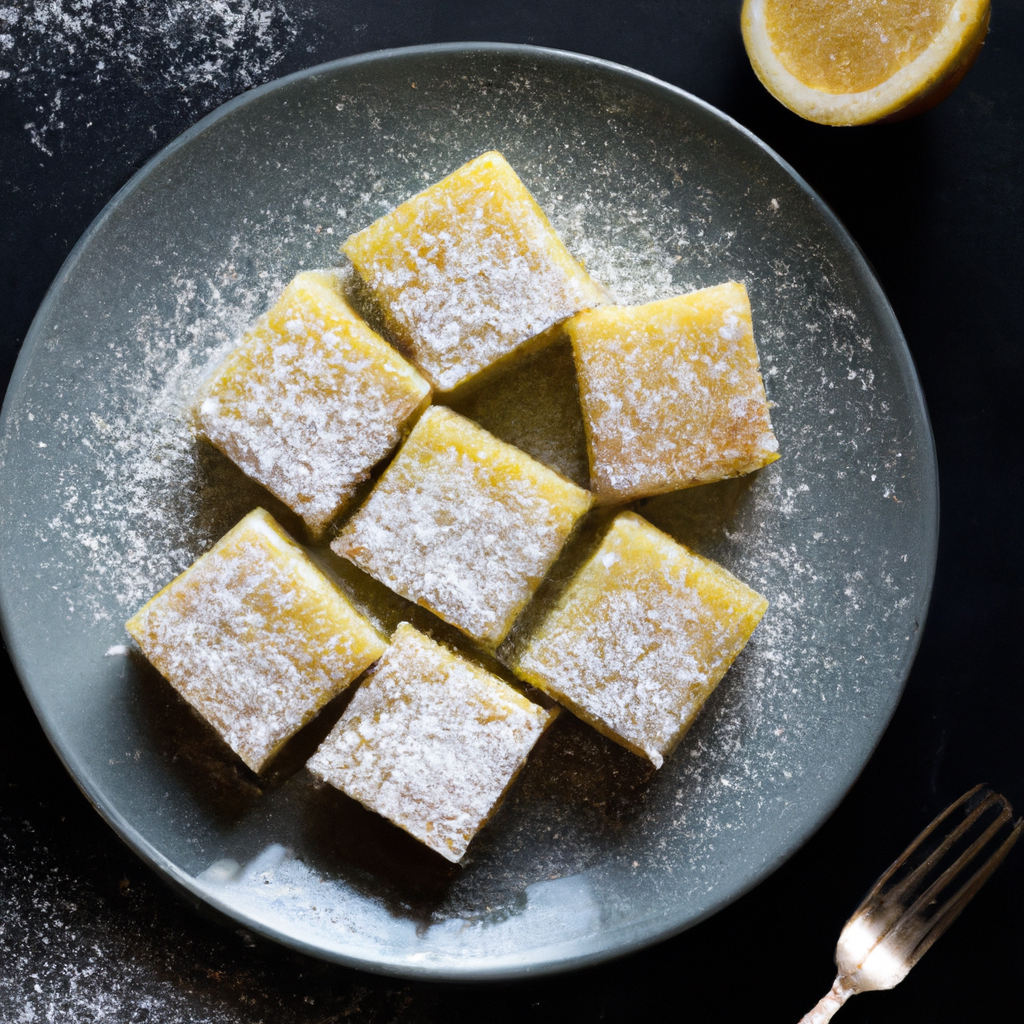
Dust with powdered sugar and serve.
Tips for Cooking
For optimal results, carefully monitor the baking time to ensure the lemon bars are perfectly cooked. Overcooking can result in dry bars, while undercooking may lead to a gooey texture. Use a timer to accurately track the baking time and avoid any distractions that may cause you to forget about them in the oven. Here are some additional tips to help you cook the best lemon bars:
| Tips for Cooking | |
|---|---|
| 1. Use a toothpick | Insert a toothpick into the center of the bars to check for doneness. If it comes out with a few moist crumbs, they are ready. |
| 2. Cool completely | Allow the bars to cool completely in the pan before cutting. This will help them set and make them easier to slice. |
| 3. Refrigerate before serving | For a firmer texture, refrigerate the bars for a few hours or overnight before serving. |
| 4. Dust with powdered sugar | Just before serving, dust the bars with powdered sugar to add a touch of sweetness and visual appeal. |
| 5. Store properly | Keep the lemon bars in an airtight container in the refrigerator for up to 5 days for maximum freshness. |
Final Thoughts
To wrap up the discussion on cooking the best lemon bars, it’s important to consider a few key points.
First and foremost, always use fresh lemons for the most tangy and flavorful bars. Avoid settling for bottled lemon juice, as it lacks the same brightness.
Additionally, ensure that the bars have cooled completely before cutting into them. This will allow them to set properly and maintain their shape.
Lastly, feel free to get creative with different crusts and toppings to add a personal touch to your lemon bars. From graham cracker crusts to powdered sugar dustings, the possibilities are endless.
Frequently Asked Questions
Can I Use Lime Instead of Lemon to Make These Bars?
Yes, you can substitute lime for lemon in this recipe. The tangy taste will vary, but it will still be tasty. Remember to adjust the measurements accordingly. Enjoy!
How Long Do Lemon Bars Stay Fresh For?
Lemon bars typically remain fresh for approximately 3-4 days when stored correctly in an airtight container. It is advisable to consume them within the initial few days to enjoy the best flavor and texture.
Can I Freeze the Lemon Bars for Later Use?
Yes, it is possible to freeze the lemon bars for later use. They will remain fresh for a period of up to three months when stored in an airtight container.
Can I Substitute Regular Flour With Gluten-Free Flour for This Recipe?
Yes, you can use gluten-free flour as a substitute for regular flour in this recipe. Keep in mind that it might slightly alter the texture, but it should still be suitable. Make sure to adhere to the remaining instructions of the recipe.
Can I Use Bottled Lemon Juice Instead of Fresh Lemons for the Filling?
Yes, you can definitely substitute bottled lemon juice for fresh lemons in the filling. While the taste may be slightly different, it should still be suitable for your recipe. Just remember to adjust the quantity accordingly.